

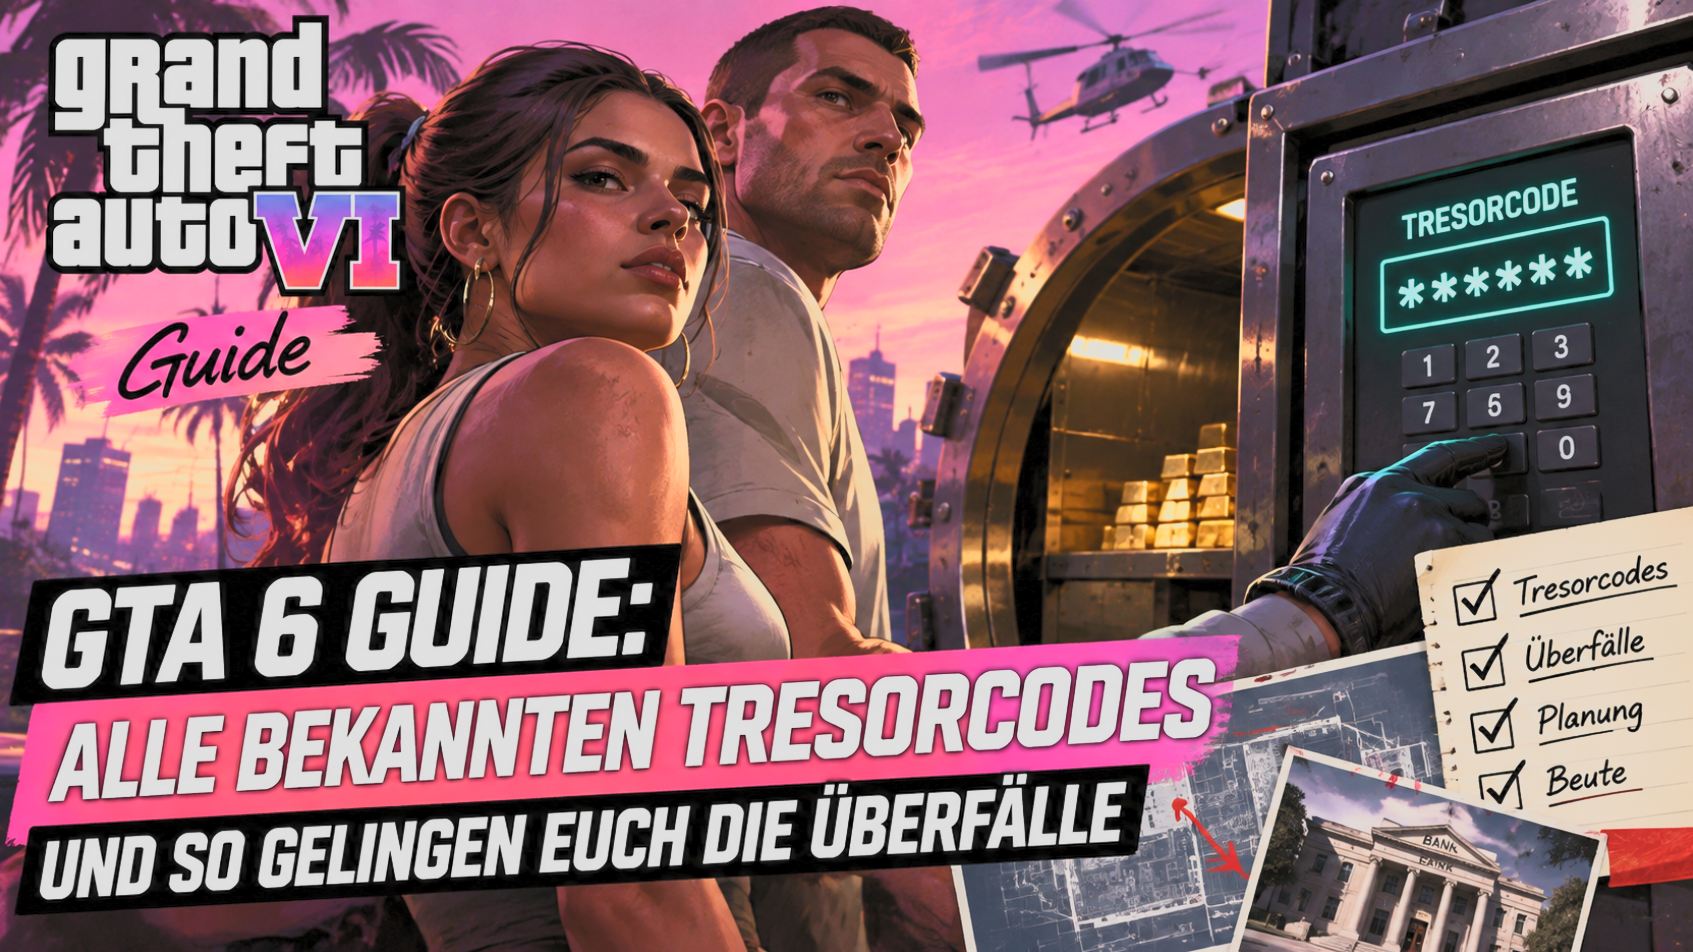
Making money is part of everyday life for Jason and Lucia in GTA 6. Heists on stores and jewelry shops can be especially lucrative, but anyone who simply storms in with a drawn weapon will quickly run into trouble. Behind certain doors wait safes whose combinations you must first figure out. Other jobs are much easier to complete with an inconspicuous back entrance, disabled alarm systems, and the right getaway vehicle. In this guide, we show you three concrete safe codes from the mission “Yasmani’s Jewelry Jobs,” explain the flow of the individual heists, and provide practical tips to ensure as much loot as possible stays with you.
GTA 6 Safe Codes: The Three Known Combinations at a Glance
In the mission “Yasmani’s Jewelry Jobs,” you must visit three stores and retrieve a specific item from a safe in each one. The following combinations are provided in the walkthrough published by PowerPyx on November 18. They refer to these specific mission locations and are not universal codes for every safe in Leonida.
| Store | Safe Code | Target Item |
|---|---|---|
| Casa de Empeno | 1680 | Buffalo Skull Necklace |
| Richardson Jewelry | 6815 | Diamond Ring |
| Donovan Banks & Co. | 0104 | Amethyst Necklace |
Important: With 0104, the leading zero is part of the combination. Therefore, enter all four digits. Different codes may apply to other stores. This is not meant to be a complete list of all safes in the entire game.
Das könnte dich auch interessieren



When is “Yasmani’s Jewelry Jobs” Unlocked?
According to the published mission walkthrough, this contract chain is located in Chapter 3 of GTA 6. The prerequisite is the completion of the mission “Boobie Time.” Afterward, Yasmani contacts you with several jewelry jobs. You can tackle the three objectives in any order and must deliver the requested pieces at the end.
The client is primarily interested in the individual valuables lying in the safes. Alongside that, you can take additional loot with you. More stolen goods can increase your payout, but it also extends your time inside the stores. That is precisely the most important trade-off: A quickly completed job may ultimately make more sense than chasing after every last piece of jewelry.
The walkthrough lists a total reward of 20,000 dollars for the requested items for this contract chain. Additional earnings depend on how much you take from the respective stores. This figure is mission-specific and should not be applied to arbitrary robberies.
First Safe: Casa de Empeno with Code 1680
Casa de Empeno is recommended for getting started. This store is one of the smaller targets and, according to the walkthrough, does not have a back entrance where the lockpick tool you unlock later would give you a special advantage. Therefore, you do not have to wait for better gear here.
Go into the store and head toward the small office in the back area. That is where the target safe is located. The combination is 1680. After opening it, pick up the buffalo skull necklace. With that, the part of this robbery crucial for Yasmani is done.
There is also a security device near the safe in the office. You can interact with it to destroy recorded video footage. This is especially interesting if you want to leave the crime scene before the police can definitively link it to you. However, the feature does not automatically prevent every alarm or report by witnesses.
Additional jewelry pieces are lying in the display cases in the retail area. They can be taken as extra loot. However, consider beforehand how much time you want to invest: Every smashed display case and every additional second in the store can make the situation more dangerous. Anyone who only needs the mission item should focus on the getaway after dealing with the safe.
PSINFO Tip: Drop off the first haul with Yasmani as early as possible. Afterward, according to the walkthrough, you will receive the so-called Snap Gun, a tool for opening certain doors without triggering the alarm. For the next two stores, this is a noticeable advantage.
Second Safe: Richardson Jewelry with Code 6815
At Richardson Jewelry, preparation already pays off significantly more. Unlike the first target, a back entrance is present here that you can open with the Snap Gun. This allows you to reach the back rooms without entering the retail area directly or drawing immediate attention upon entry.
Inside the building, you should first check the security technology. According to the documented sequence, there is a control panel that can be used to deactivate the store’s fuse box. In addition, existing surveillance footage can be destroyed in a central room. Both serve different purposes: Disabling the system is intended to prevent you from triggering an alarm yourself; removing the recordings makes it harder to identify you later using camera footage.
The actual safe is located in the northeast corner of the middle room. Enter 6815 there and take the diamond ring as well as the remaining available contents. The ring is the item Yasmani expects from you.
Afterward, you have to decide. If the procedure so far has remained quiet, you can leave the building through the back entrance again and complete the job with comparatively low risk. Anyone who additionally wants to plunder the front shop can help themselves to the display cases, but must expect heightened attention and potential escalation.
PSINFO Tip: At Richardson Jewelry in particular, it becomes apparent why the Snap Gun is worth it. If you are completing the job for a specific item anyway, it doesn’t automatically have to turn into a huge shootout. First open the safe, then decide whether the situation still leaves enough room for extra loot.
Third Safe: Donovan Banks & Co. with Code 0104
Donovan Banks & Co. also features a back entrance that you can use with the unlocked tool. The basic procedure is therefore similar to Richardson Jewelry: First look for an inconspicuous access point, deal with the security systems, and then open the safe.
According to the mission description, the options for deactivating the security precautions and removing the camera recordings are located in a small back office. Take care of this before tackling the actual safe if you want to remain as undetected as possible.
The safe is located in the center of an elongated room in the rear area. Its combination is 0104. Among other things, the sought-after amethyst necklace is inside. When entering it, pay attention to the leading zero; “0104” must not accidentally become “104.”
At this location too, you can vanish immediately after opening the safe or attempt to additionally clear out displays in the front retail room. A quiet execution is especially attractive if you have already collected all necessary mission items and don’t fancy an elaborate police pursuit.
Once all three objectives are accomplished, you bring the requested jewelry pieces back to Yasmani. Only then do you complete the mission chain. Anyone who tackles the stores in a different order should keep in mind that the quiet back entrance is less convenient without the Snap Gun.
How to Find Safe Codes During Other Heists
The three combinations above belong to a named contract chain. The numerous remaining stores in Leonida do not automatically share the same solution path. Rockstar has already shown prior to release that safes are part of the open heist mechanics and their combinations frequently must be acquired first.
The first option is to thoroughly investigate the crime scene. In demonstrations, developers and invited players searched business premises for clues to a safe combination. It is therefore worthwhile not only to look at the cash safe itself, but also to pay attention to desks, offices, and other conspicuous spots. However, it is not confirmed that the code will be lying on a note in every location.
A second possibility is information from contacts. According to reports about developer presentations, fences or other figures can provide you with details on certain targets, sometimes even via messages on the smartphone. Receiving such hints before the heist saves valuable time inside the building.
Thirdly, there are more direct methods to open a safe. Pre-release reports describe that some safes can also be cracked open with explosives. This may save you from searching for the combination, but it can damage loot and generate more attention. Especially on a job based on a specific item, this is not always the best choice.
These variants are no promise that every safe can be opened in every mentioned way. The deciding factors are the respective location and the equipment available there.
Properly Preparing Heists: What You Should Check Before Entering
In GTA 6, a robbery does not just start at the register. The developers have repeatedly emphasized that observation and planning play a larger role than in previous parts. The more you know before the actual strike, the less you have to improvise under time pressure.
Check the access points first. A back entrance can be significantly more inconspicuous than the front door. For some buildings, a lock must be overcome to do this. Anyone who already owns the right tool can potentially avoid a loud break-in.
Watch out for cameras and alarm systems. In a Rockstar demonstration, it was possible to deactivate security tech or remove recordings respectively. At best, the former prevents direct alarm notification, while the latter reduces traces after the fact. This does not imply that a turned-off camera system makes all witnesses disappear.
Plan a vehicle for the getaway. A fast departure is important, but storage space can also become a problem. During extensive heists, it is not always enough just to crack the safe: Stolen goods also need to be transported away from the crime scene. A motorcycle handles transport differently than a vehicle with a large trunk.
Determine your goal. Do you merely want to collect a specific mission item or loot as much cash as possible? You should make this decision before a clerk calls the police or a security guard opens fire.
How to Escape the Police After a Heist
In GTA 6, the police are not just supposed to chase a blinking dot on the map. According to information so far, they react to reports from witnesses, alarms, and descriptions of the perpetrator. Clothing, disguise, and the vehicle used can play a role in this. That turns the getaway into its own distinct part of the heist.
Leave the crime scene before additional forces arrive, if possible. If you flee in a conspicuous or already reported car, a subsequent vehicle switch can be sensible. Shedding a mask or changing clothes can also help under the described conditions to render an existing suspect description unusable.
However, you should not deduce a general guarantee from this. Anyone being actively pursued by patrol cars is not safe simply because they change a jacket. The decisive factor remains what information the police already have and whether they continue to observe you.
At PSINFO, we have already explained the expanded system in the article GTA 6 Evidently Remembers How You Commit Crimes. This knowledge is especially valuable for heists: The actual challenge doesn’t end at the store door, but only when you have actually brought the loot to safety.
Frequently Asked Questions About Safes and Heists in GTA 6
Is there a safe code that works everywhere?
No, a universal code is not confirmed. The combinations 1680, 6815, and 0104 belong to three specific jewelry stores in the Yasmani contract chain. For other safes, the respective in-game hints are decisive.
Can I rob the three jewelry stores in any order?
Richardson Jewelry and Donovan Banks & Co. The published walkthrough describes the objectives as freely selectable. Practically, however, it is better to start with Casa de Empeno and deliver the first shipment. This way, you obtain the tool that makes getting into the other two stores easier.
Where do I get the Snap Gun?
According to PowerPyx, the Snap Gun is unlocked after the first delivery to Yasmani. It serves to open certain locked accesses without immediately triggering the alarm. You can use it at the back entrances of Richardson Jewelry and Donovan Banks & Co.
Conclusion: Three Codes, Three Objectives, and a Better Escape
For Yasmani’s jewelry jobs, 1680, 6815, and 0104 are the crucial combinations. Secure the Snap Gun after the first store and use the back entrances for the remaining two targets whenever possible. The most important principle for further heists remains the same: Scout the location, take care of the security tech, and decide in time when additional loot is no longer worth the risk.
Several of these mechanics are known from developer presentations, while the concrete code details stem from a published mission walkthrough. The guide is therefore a practical orientation for starting the game and not a fabricated report about our own PSINFO playthroughs.
Let us know your opinion in the comments.





Die Quelle der Codes (PowerPyx) wird klar benannt, was für die Zuverlässigkeit wichtig ist. Trotzdem sollte man die Hinweise im eigenen Spiel überprüfen, weil andere Safes andere Lösungen haben können. Erwähnenswert ist auch, dass Sprengstoffe zwar mögliche Abkürzungen bieten, aber Risiko und Schaden erhöhen.
Der Artikel beschreibt gut die Abwägung zwischen schnellem Abschluss und maximaler Beute. Hinweise zu Hintereingängen, Demontage von Überwachung und Fahrzeugwahl sind praxisnah. Wichtig bleibt, vor dem Zugriff klare Prioritäten zu setzen, denn zusätzlicher Raub erhöht Zeitaufwand und Polizeirisiko deutlich.
Die Auflistung der Codes ist hilfreich, insbesondere der Hinweis, dass bei 0104 die führende Null eingegeben werden muss. Gut zu wissen, dass diese Kombinationen nur für die Yasmani-Aufträge gelten. Sinnvoll scheint es, Casa de Empeno zuerst abzuschließen, um das Snap Gun zu erhalten.